



To make bubble nails, you thin your gel polish colours with a little top coat so they turn transparent, place them at random over a shimmer background with a bubble mix of Gel Residue Wipe-off Solution, washing-up liquid and water, then cure and wipe the nail. In this tutorial Kirsty does the whole look using her non-dominant hand. If she can do it, so can you.
The soapy effect is made with ordinary gel polish colours, a little top coat and a simple bubble mix, then finished with foil and stones.
Kirsty calls the finished gel polish nail art Unicorn Bubble Bath Nails. Below you'll find the products, each step with its place in the video, and her tips.
At a Glance
- Design: shimmering soap bubble effect with solid colour nails, foil and stones
- Artist: Kirsty, working on her own hand
- Technique: bubble technique in gel polish
- Key products: Solar Wind, Damson in Distress, Rich Teal, Little Lilac, Dragon Fruit, Pitch Purple, Velvet Ribbon, Ocean Ridge and Bottle Green gel polishes, Top Coat, Foil Glue, NF-018 foil
- You supply: washing-up liquid or liquid soap, and water
- Video length: about 19 and a half minutes
Why You'll Love These Bubble Nails
- The bubble effect looks complicated but uses products you probably already own.
- Every bubble is random, so there is no wrong way to do it.
- It works with any colours from your gel polish collection.
- Foil and stones add extra sparkle on the accent nails.
Products Used in This Video


How to Create Bubble Nails
1. Apply the shimmer background
Paint a shimmer colour over the nails that will carry the bubbles. Kirsty later uses this same shimmer colour over the coloured nails to tie the set together.
2. Mix your colours with a little top coat
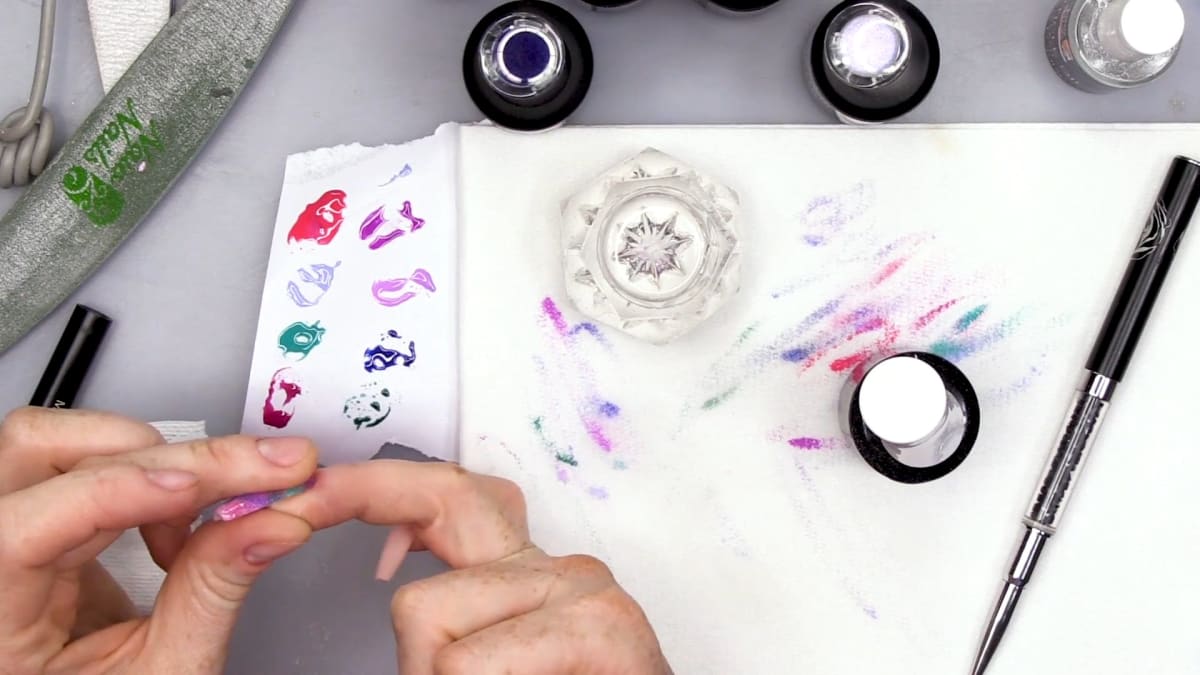
Take your chosen gel polish colours and mix each one with a little Top Coat so they turn more transparent. This gives the soft, see-through look of real bubbles. Watch this step at 4:10
3. Make the bubble mix
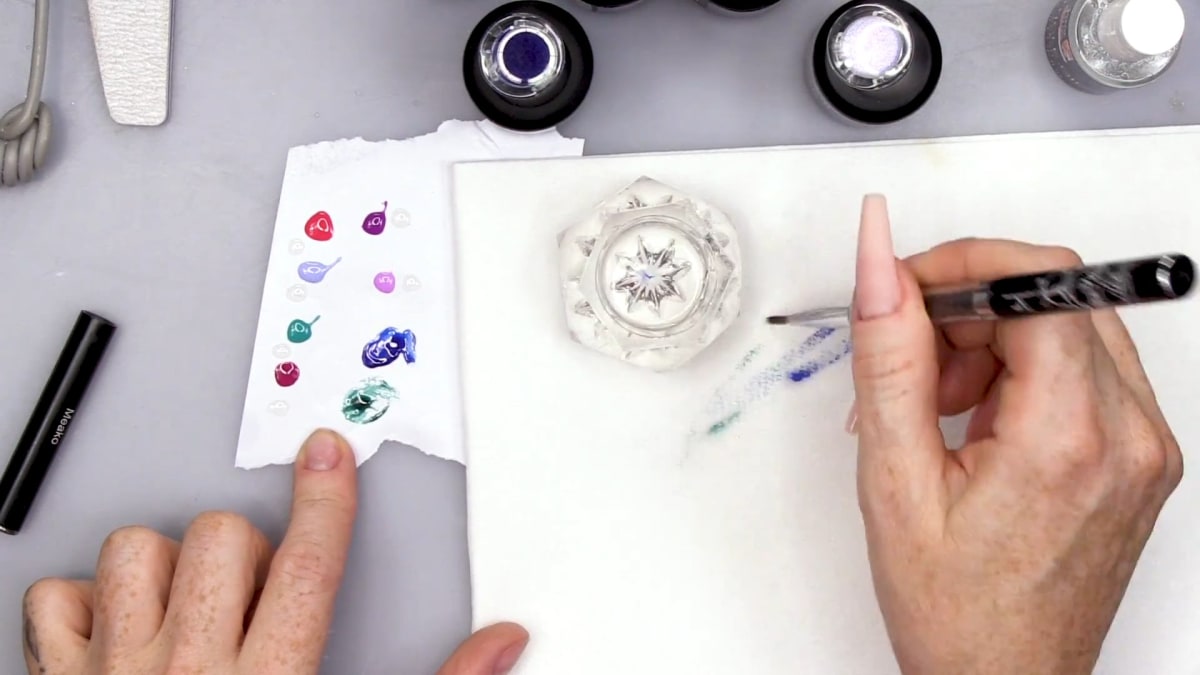
Combine Gel Residue Wipe-off Solution, washing-up liquid and water to make the bubble mix. Watch this step at 5:30
4. Dot on the bubbles
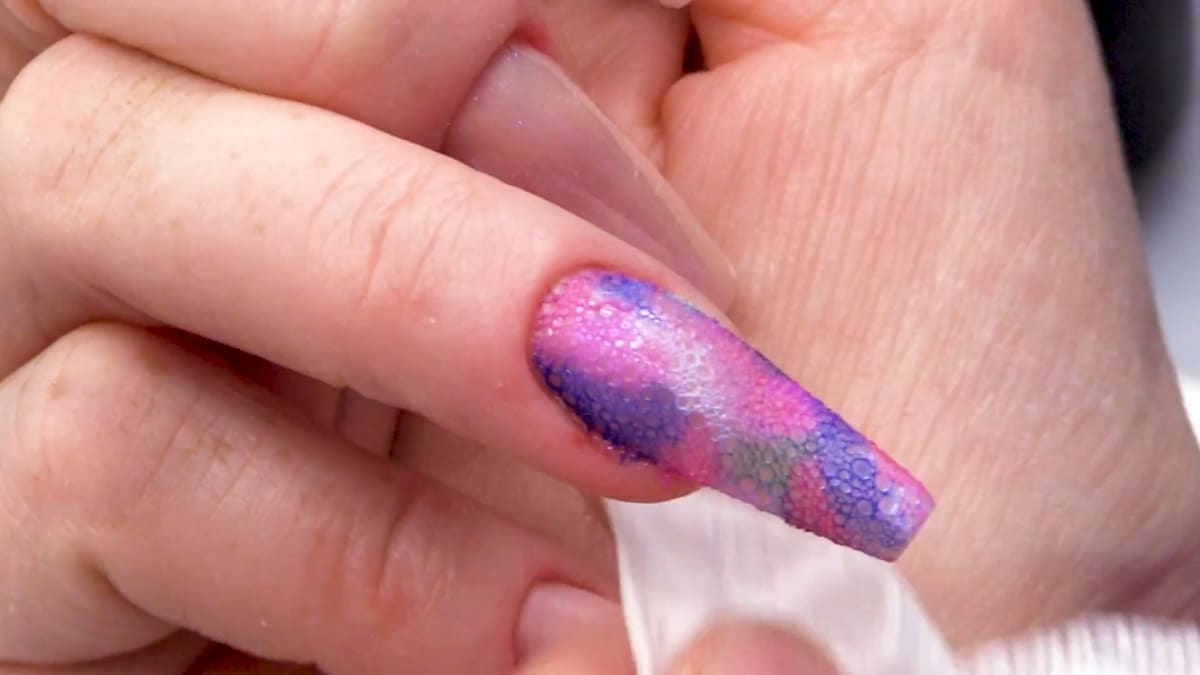
Place the transparent colours at random over the shimmer background and cure. Once cured, wipe the nails with a lint-free pad. Watch this step at 7:00
5. Seal with top coat
Apply two coats of Top Coat and buff as shown in the video. Watch this step at 9:30
6. Paint the solid colour nails
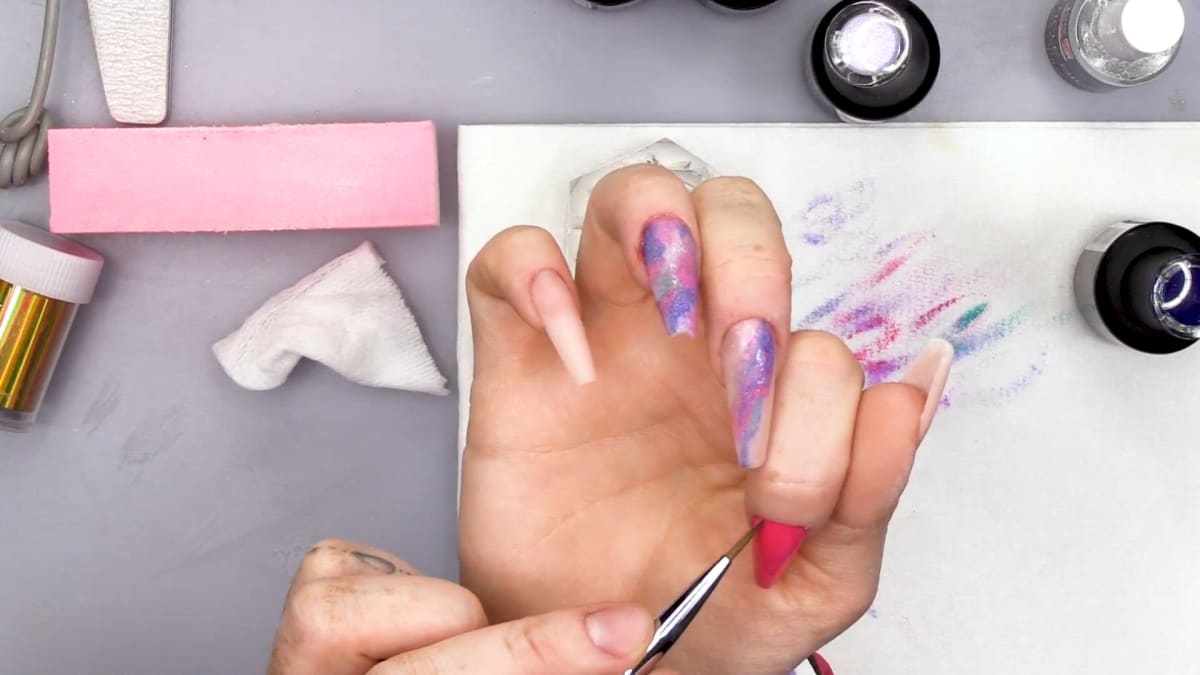
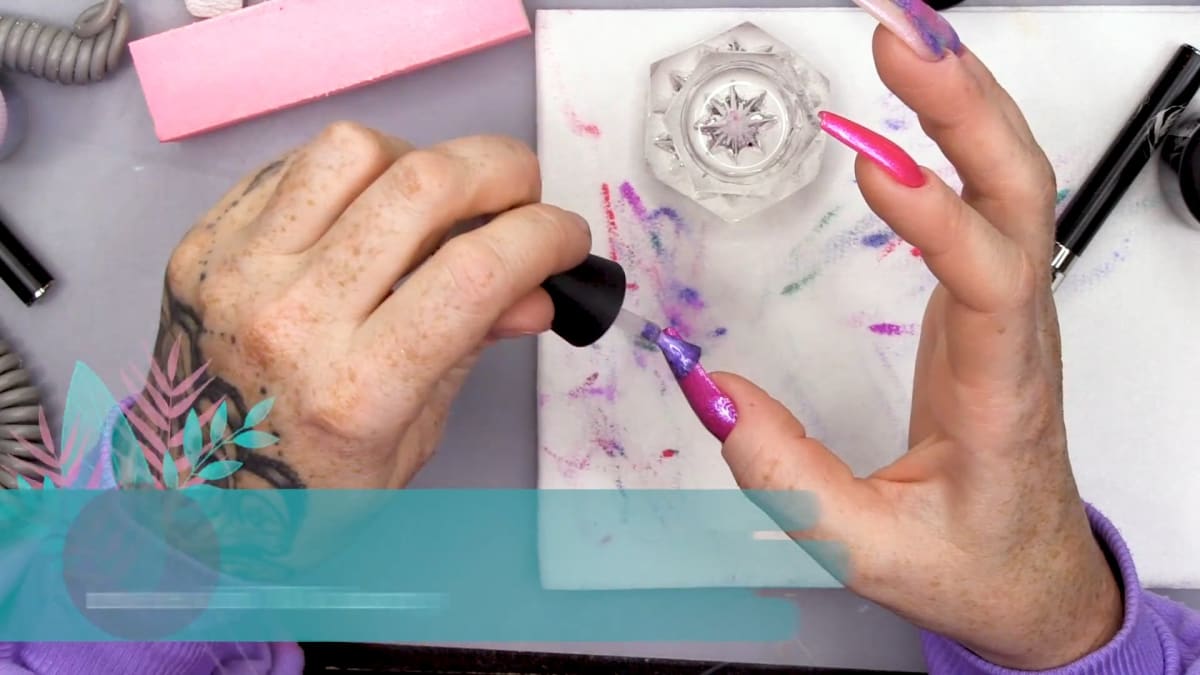
Kirsty uses a smaller brush to tuck colour in close to the cuticle, which is helpful on a non-dominant hand. She applies two coats of colour, then adds the shimmer shade over the top for a purple hue. Watch this step at 10:50
7. Add stones and foil
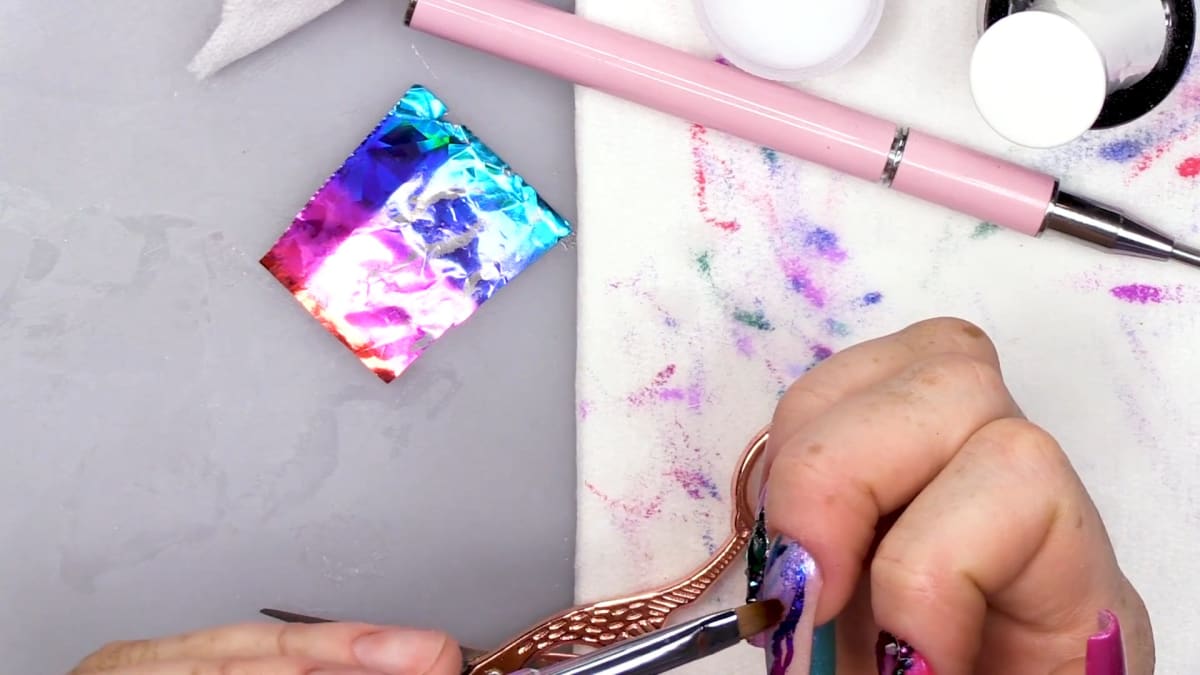
Place It's Clear Dear AcryGel where you want stones, smooth it with a brush dipped in Gel Residue Wipe-off Solution, then press the stones into the uncured gel. Frame the bubble section with foil: apply Foil Glue, cure, then press the foil on and peel. Add a few more stones, apply a final top coat and finish with Cuticle Oil. Watch this step at 16:40
Where to find each stage of the Bubble Nails video
| Stage | Time |
|---|---|
| Mixing colours with top coat | 4:10 |
| Making the bubble mix | 5:30 |
| Dotting on the bubbles | 7:00 |
| Shimmer background | 8:20 |
| Sealing with top coat | 9:30 |
| Solid colour nails | 10:50 |
| Stones and foil | 16:40 |
Pro Tips
- Use a smaller brush near the cuticle if you are working with your non-dominant hand.
- Press down firmly when applying foil and support the nail underneath.
- Wipe any foil or product off the skin with a brush and a little Gel Residue Wipe-off Solution.
- Keep the stones from building up too much thickness by placing them before the final top coat.
Who Is This Design For?
Bubble nails suit anyone who wants a fun, shimmery look without precise hand painting. They are ideal for beginners and for anyone practising nail art with their non-dominant hand.
Ways to Make It Your Own
- Choose pastel colours for a soft unicorn look or bold colours for more contrast.
- Use different shimmer backgrounds on each nail.
- Swap the stones for more foil, or leave them off entirely.
Aftercare
Finish with Cuticle Oil and massage it in daily to keep nails and cuticles hydrated.
Frequently Asked Questions
How do you make bubble nails?
Mix gel polish colours with a little top coat, place them at random over a shimmer background with a bubble mix of Gel Residue Wipe-off Solution, washing-up liquid and water, cure, wipe, then seal with two coats of top coat.
What makes the bubble effect?
A mix of Gel Residue Wipe-off Solution, washing-up liquid and water creates the bubbles, which are then cured over transparent colour.
Can I do bubble nails with my non-dominant hand?
Yes, Kirsty does the entire design with her non-dominant hand and recommends a smaller brush for the cuticle area.
Do I need a particular shimmer colour?
Any shimmer shade works, and Kirsty notes the same colour will work over all of your colours.
Why mix the colours with top coat?
It makes them more transparent, like real bubbles.
How is the foil frame added?
Apply Foil Glue, cure, then press the foil on and peel.
What do I need that is not a nail product?
Washing-up liquid or liquid soap, and water.
Give Bubble Nails a Try
Watch the bubble nail art tutorial above, gather your colours and have fun with the bubbles.


